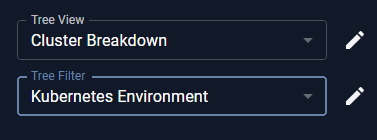
Figure: Creating Custom Filters
- From the tree viewer click
 to open the Manage Filters dialog box.
 - In the Manage Filters dialog box, click Copy or New and enter a name for the new filter.
- Click the + Add Row and define your filter criteria (e.g. Business Unit).
- Further filtering can be applied by defining a condition. From the Condition dropdown list, select the condition to be applied to the filter criteria (e.g. Starts with).
- In the Value field, enter a value for the selected condition (e.g. Eng).
- Continue building your filter beyond a single row, by clicking + Add Row and repeat from step 3.
- Select other options as applicable:
- Set as my default filter—This filter will be selected each time you open Kubex.
- Set as public filter—All users can use this filter. If unchecked, then this view is set as private.
- Read-only for other users—All users can use this filter, but cannot edit it.
- Click OK to save the filter or Apply to save and apply the filter.
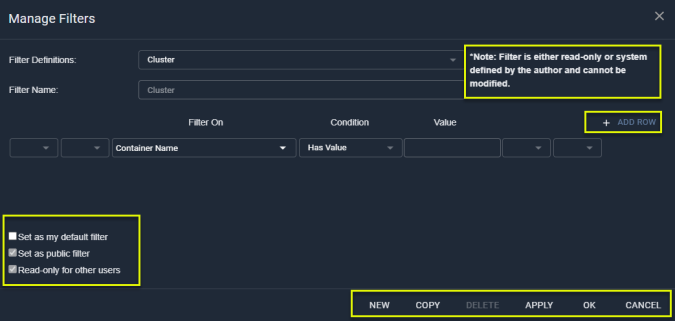
Manage Filters Dialog Box
- If you place an ‘OR’ in the last line with an empty line following, then you will get the following error message: Filter Field is required on line 2.
- If you place an ‘OR’ on the last line without any additional lines following, then you will get the following error message: An error occurred during query validation.
Creating Complex Filters
If you want to create complex filters, using the brackets and the AND/OR options, you should be familiar with building SQL queries. There are two types of condition value:- Integer fields (numeric) include extra filter conditions, such as:
- Greater Than
- Less Than
- Greater Than or Equal
- Less Than or Equal
- String fields define text strings to match.